TT Construction Web
Laser test set-up: Documentation
Prepare the Laser test stand in lab 36H26 for measurements1. Switch-on PC(mops) in Windows XP mode (steers the Beetle programming & read-out)
2. Login: lhcb Password: an experiment name
3. Start LabVIEW (click on symbol on the task bar)
4. Open VI: either pull-down menu or path
My Documents/LabView/I2CBeetle12_LabView/i2c_beetle13.vi
My Documents/LabView/ODE_readout/ODE_readout_PCI_4port (_consecutive ) .vi
My Documents/LabView/stepping_motor/step60/SteppingMotor_XP.vi
5. Switch on VME (red handle on lower left) and both NIM crates.
6. Switch on power supplies at bottom of the rack.
Lower PS to power PCB neccessary for the readout
Upper PS for Beetle power. Remark: current consumption of 3-chip-hybrid about 1A @ 8.0V.
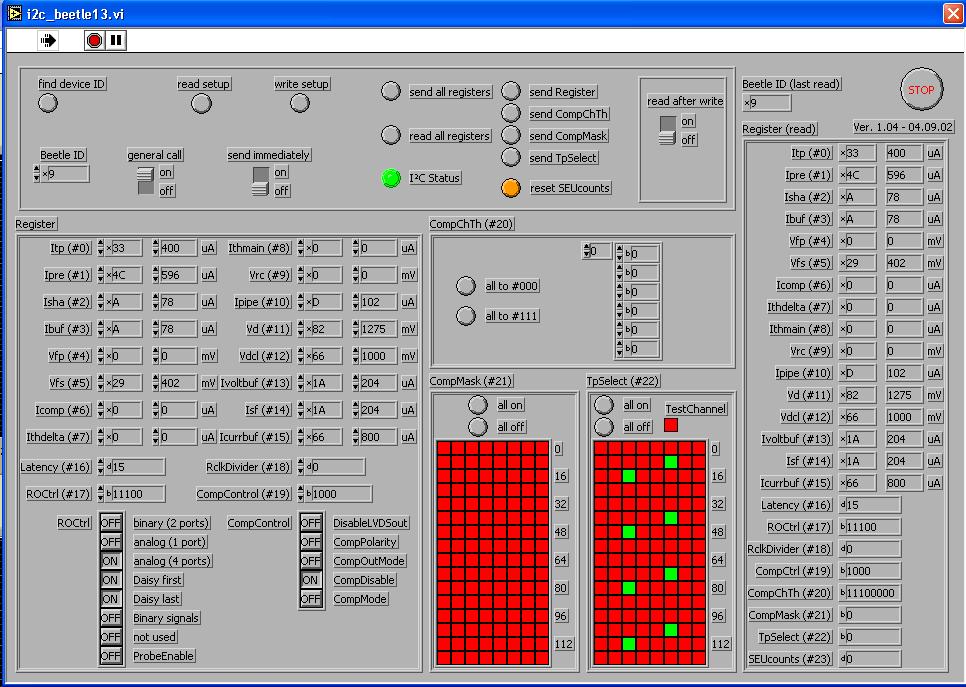
7. i2c_beetle13.vi : press "Run" in the i2c_beetle13.vi
General information in Beetle1.3 reference manual. Standart settings (read at startup) are saved in
My Documents/LabView/I2CBeetle12_LabView/standart.set
Programm Beetle chips:
1. Click on: find device ID (You have to get green light for I2C Status)
2. Press: send all registers
3. Press: read all registers

8. Press Beetle reset button on Beetle-Mama PCB-board
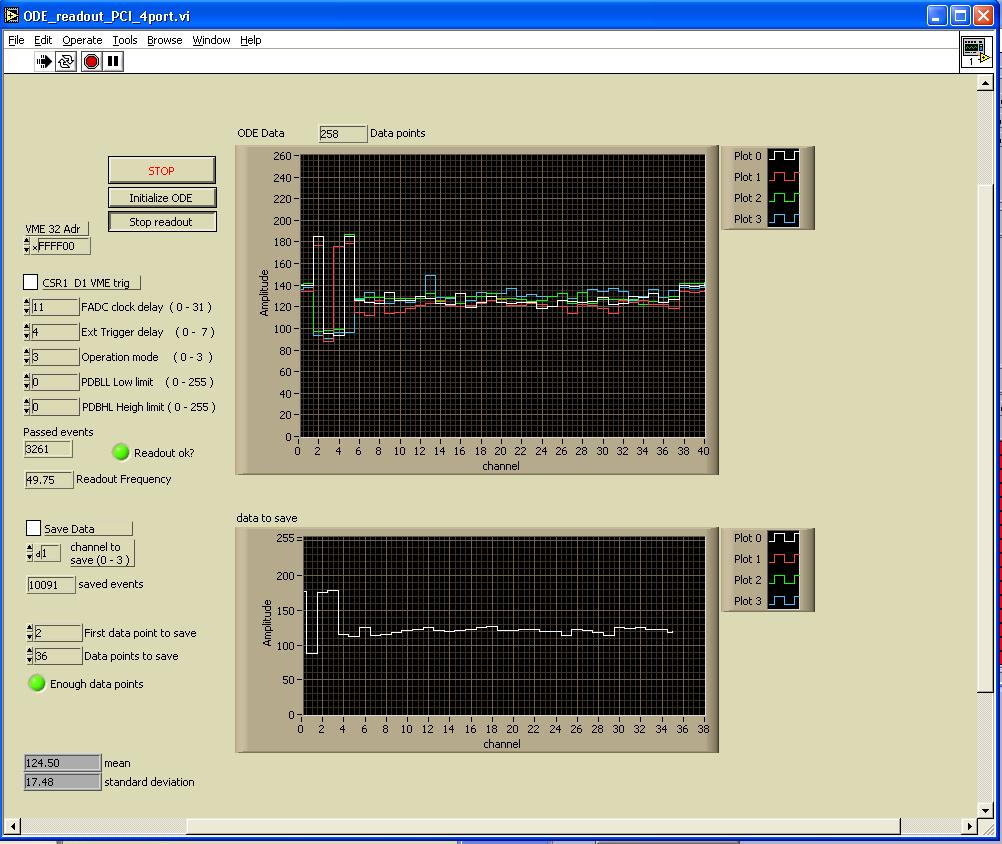
9. ODE_readout_PCI_4port .vi (Program for read-out of the Beetle signals)
Standart settings (read at startup) are saved in
My Documents/LabView/ODE_readout/standart.set
1. Press "Run" button in the VI
2. Press: Initialize ODE
3. Press: Start Readout

10. Switch-on chiller for the hybrids
Water temperature: 10 degC
Lower limit: 5 degC
Upper limit: 15 degC
11. start Nitrogen flush: turn on main valve on open handle of the N2 line to the fridge.
Turn flow meter to release measurement cone (flow<10m3/h)
Produces a dry atmosphere insode the fridge.
12. IMPORTANT: fridge has to be closed when Bias voltage is applied!
Procedure to apply Bias voltage:
1. Switch on power supply on top of the rack.
2. Press: ZCHK (zero check)
3. Press V-source: upper arrow
4. Press: Range upper arrow - twice (set voltage range to 500 V )
5. Use left arrow to select decimal digit of voltage setting
6. Set 10 Volts and Press: Enter
7. Set current limit to 250 uA with down arrow and Press: Enter
8. Switch on voltage by pressing: OPER (blue light confirms switching ON)
9. Increase voltage slowly to e.g. 250 Volts (confirm by pressing ENTER twice)
13. Open a WinSCP3 session (click on shortcut in Windows task bar)
login to panther2 as lhcb (password is ein wanderer)
data directory on Mops is something like
Shared Documents\Laserteststand\beetle1_3_4port\CMS3+Flex\calibration
data directory on panther2 is something like
14. Start data taking in ODE_readout_vi by clicking box beside Save Data
data directories on Mops are something like
Shared Documents\Laserteststand\beetle1_3_4port\CMS3+Flex\calibration
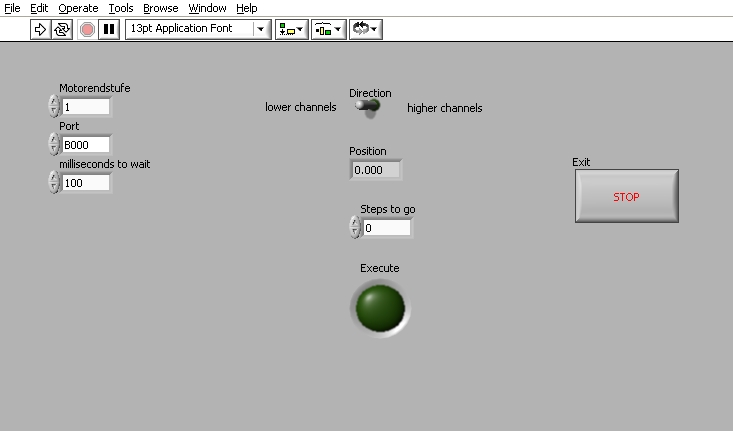
15. operating the stepping motor to move Laser optics along Sensor:

Different operation modes:
I) internal Testpulse scans:
1.) trigger read-out via TP-IN lemo on Beetle-Mama
2.) set Itp parameter in I2C_Beetle13.vi to desired value (1uA Itp ~ 100-110e-), e.g. 1 MIP in 500mum silicon about 40'000 e-, i.e. about Itp=400uA
3.) mark channels with TP on TpSelect (#22) map (already done for standard setting)
4.) Latency is about 15 (might change with physical setup)
5.) Use upper switch row of the lower delay switch box in rack to modify the time delay between the test pulse and the read-out trigger.
6.) be sure to take all signal data with equal polarity of the testpulses (use Reset button on BeetleMama)
--------
analyze data on panther2:
start shell on ratte
ssh panther2 (password is ein wanderer)
xemacs logbook/lasertest_Beetle_1_3.log &
example of a logbook entry:
| 2004/04/30 ================================================================================================= Test pulse calibration ================================================================================================= /disk/panther2/lhcb/data/beetle1_3_4port/CMS3+Flex/calibration STANDARD READ-OUT SETTINGS as defined on 27/04/2004 calibration channels: Itp=400uA ch. 10; 42; 74; 106 with amplitude -1 ch. 21; 53; 85; 117 with amplitude +1 Vbias=270V, Ileak= 5.9uA T(hybrid)= 15.7degC, T(box)= 20.5degC pedestals 20040430_001.dat 12423 latency 15, delay 92ns latency delay file name events 15 88 20040430_002.dat 2318 15 61 20040430_003.dat 1072 15 56 20040430_004.dat 2587 15 52 20040430_005.dat 1033 15 48 20040430_006.dat 1062 15 44 20040430_007.dat 1230 15 40 20040430_008.dat 1196 15 36 20040430_009.dat 1027 |
copy data files with WinSCP3 (see above point 13)
proceed data on panther2:
enter correct data path in /disk/panther2/lhcb/progs/proceedPedestalFile and /disk/panther2/lhcb/progs/createNewRootFiles
and modify pedestal file name in createNewRootFiles
in the shell:
| lhcb/progs> cd
/disk/panther2/lhcb/progs/ lhcb/progs> ./proceedPedestalFile 20040430_001 Skript wurde von panther2 gestartet. Datendir /disk/panther2/lhcb/data/beetle1_3_4port/CMS3+Flex/calibration/ /disk/panther2/lhcb/data/beetle1_3_4port/CMS3+Flex/calibration/20040430_001.dat creating run from raw buffer 4 port mode, read in 12424 calculating pedestals write pedestals read pedestals configure with outlier cut 2 iter 2 create run rejected 5.96603 lhcb/progs> rm /disk/panther2/lhcb/root/beetle1_3_4port/CMS3+Flex/calibration/20040430_00[2-9].root lhcb/progs> ./createNewRootFiles Skript wurde von panther2 gestartet. /disk/panther2/lhcb/data/beetle1_3_4port/CMS3+Flex/calibration//20040430_001 skipping 20040430_001.dat - ROOT-file already exist. /disk/panther2/lhcb/data/beetle1_3_4port/CMS3+Flex/calibration//20040430_002 read pedestals creating run from raw buffer 4 port mode, read in 2319 configure with outlier cut 2 iter 2 create run rejected 5.81458 lhcb/progs> |
start a new shell on panther2:
hep/lhcb> ssh panther2
lhcb@panther2's password:******
hep/lhcb> cd analyse
lhcb/analyse> root baseline.C (modify file name in C file)